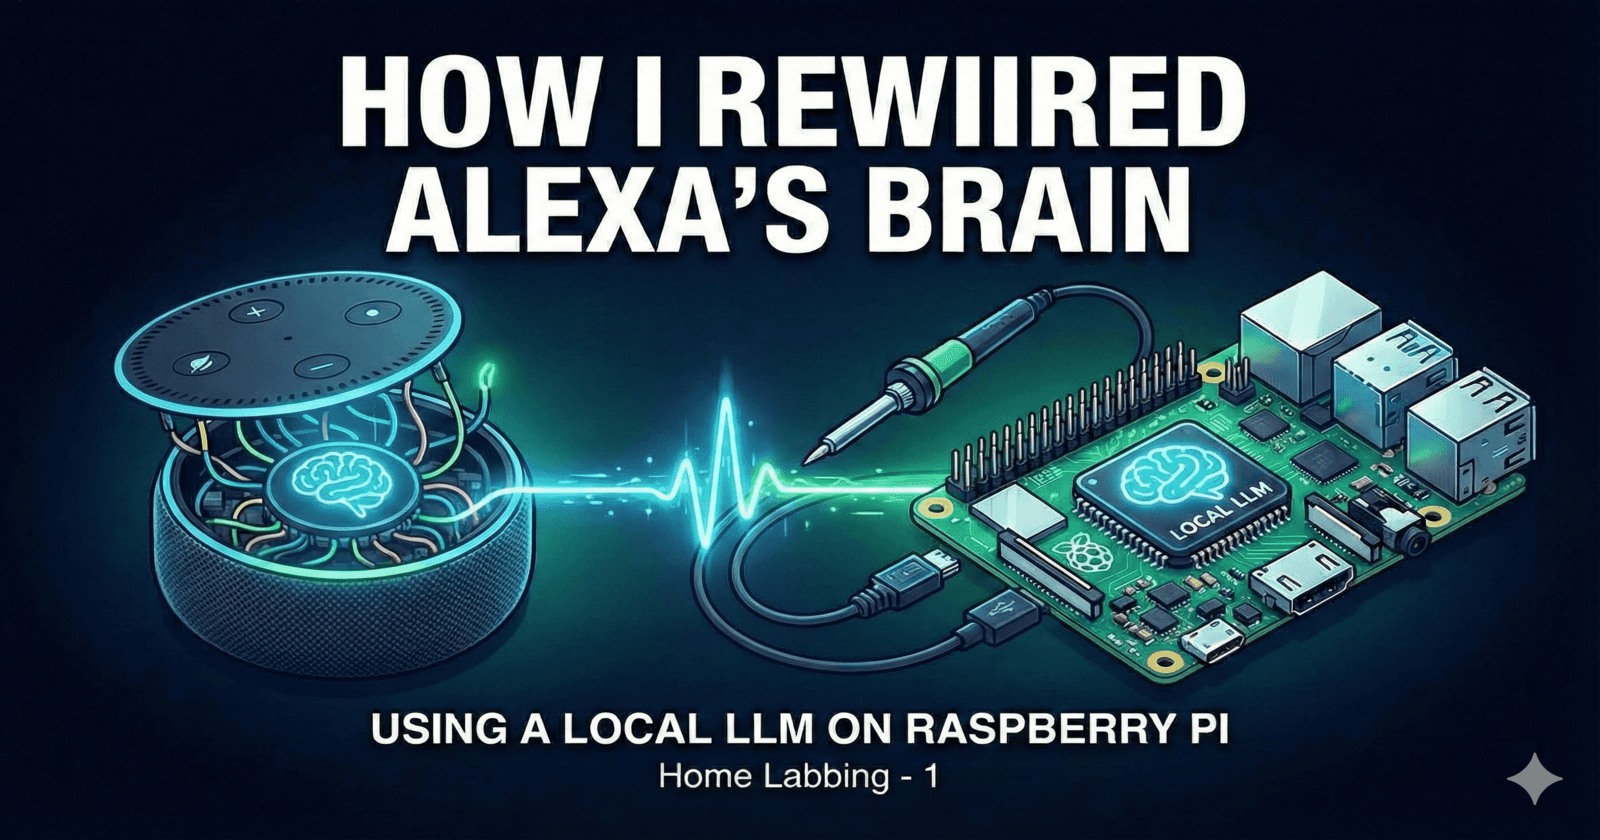
How I Rewired Alexa’s Brain Using a Local LLM on Raspberry Pi
Connecting Alexa to a Local LLM Running on Raspberry Pi
Bootstrapping the Raspberry Pi: Installing a Lightweight OS
I’m using a Raspberry Pi 3 B+ with just 1GB of RAM, so choosing the right OS was important from the start. To avoid wasting resources on a graphical desktop, I flashed Raspberry Pi OS Lite onto an SD card.
A lightweight, headless setup helps keep as much memory and CPU available as possible—something that really matters when you’re planning to run an LLM locally. After flashing the image, I enabled SSH so I could manage everything remotely without connecting a monitor or keyboard.
Once the Pi booted up and was reachable on the network, the base setup was ready.
Adding Swap Memory (Optional)
Before doing anything heavy, let us check the available memory using:
free -h
Since this setup runs on a Raspberry Pi 3 B+ with 1GB RAM, memory can run out very quickly—especially during builds or when loading models. To avoid random crashes, we decided to add swap memory.
⚠️ If you’re using a Pi with more RAM (like 4GB or 8GB), you can safely skip this step.
Creating a Swap File
We created a 2GB swap file using the following command (this may take a minute):
# Create a 2GB swap file
sudo dd if=/dev/zero of=/swapfile bs=1M count=2048
count=2048= 2GBChange it to
1024for 1GB if needed
Setting Correct Permissions
For security reasons, only the root user should be able to read or write to the swap file:
sudo chmod 600 /swapfile
Enabling the Swap
Next, we told Linux to treat this file as swap space and activated it:
sudo mkswap /swapfile
sudo swapon /swapfile
Running free -h again confirms that the swap memory is active.
Adding swap isn’t fast, but on low-memory devices like this one, it makes a noticeable difference and helps prevent builds from failing midway.
Installing Essential Build Tools
Before we can compile and run any LLM locally, we need to make sure the Raspberry Pi has all the necessary build tools and dependencies installed. Since we’re working on a minimal OS, most of these don’t come preinstalled.
We start by updating the package list and installing the essential development tools:
sudo apt update && sudo apt install -y git cmake build-essential python3-pip python3-venv
git– to clone repositoriescmake&build-essential– for compiling C/C++ projectspython3-pip&python3-venv– to manage Python dependencies
Next, we download the Qwen model (0.5B) optimized for low RAM:
wget -O qwen0.5b-q4.gguf https://huggingface.co/Qwen/Qwen2.5-0.5B-Instruct-GGUF/resolve/main/qwen2.5-0.5b-instruct-q4_k_m.gguf
This ensures we have a lightweight model suitable for our 1GB Raspberry Pi.
Cloning llama.cpp
Now that our build environment is ready, we can grab the llama.cpp repository:
git clone https://github.com/ggerganov/llama.cpp
cd llama.cpp
This repository contains a highly optimized C++ implementation of LLaMA, perfect for running inference on low-power devices like the Raspberry Pi.
Building llama.cpp
Now that we have all the tools and dependencies, we can build llama.cpp using cmake. Since we’re on a Raspberry Pi with limited RAM, we’ll keep things lightweight and organized by creating a separate build folder.
# Create a build directory and enter it
mkdir build
cd build

# Prepare the build
cmake ..

# Compile the software
# here -jN denotes number of cores to be used while building
# Using -j2 to avoid crashes on 1GB Pi
cmake --build . --config Release -j2
⚠️ This step can take 30–45 minutes on a Pi 3 B+, so be patient.
Once the build completes, the executable will be in ./build/bin/, ready to run our model.
# Go back to the main llama.cpp folder
cd ..

# Run the model
# Make sure the path to qwen0.5b-q4.gguf matches where you downloaded the model
./build/bin/llama-cli -m qwen0.5b-q4.gguf -p "You are a helpful assistant. User: Hello! Assistant:" -c 512 -cnv -t 4
This gives us a working setup to start interacting with the Qwen model on our Pi.
Setting Up the Local LLM Server
To connect Alexa to our local LLM, we need a server that keeps the model loaded in memory and responds to requests instantly. This involves two main steps: running the LLM in server mode and setting up a Python web server to handle incoming requests.
Step 1: Start the LLM in Server Mode
Instead of running the interactive chat tool (llama-cli), we run the server tool. This keeps the model loaded in RAM and ready to respond immediately.
Open a terminal inside your build folder and run:
# Start a local API server on port 8080
./bin/llama-server -m ../qwen0.5b-q4.gguf -c 512 --port 8080 --host 127.0.0.1 -t 3
-mpoints to your downloaded Qwen model-c 512sets the context window size--port 8080 --host 127.0.0.1binds the server locally-t 3uses 3 threads to save RAM
Keep this terminal open. You should see a message like:
Listening on 127.0.0.1:8080
This means the LLM is ready to accept requests.
Step 2: Set Up the Python Server
Next, we create a Python environment to host a small web server that will talk to the LLM and handle Alexa requests.
# Create a virtual environment in your project folder
python3 -m venv venv

# Activate the environment
source venv/bin/activate
You should now see (venv) at the start of your command line.
Install the necessary Python packages:
pip install flask requests
Finally, create the Python server file:
nano alexa_llm.py
Paste the below server code:
from flask import Flask, request, jsonify
import requests

app = Flask(__name__)

# --- CONFIGURATION ---
# Ensure your llama-server is running on this port
LLAMA_SERVER_URL = "http://127.0.0.1:8080/completion"

# We limit tokens to 30 to force the model to stop talking quickly
MAX_TOKENS = 30

@app.route('/', methods=['GET'])
def health_check():
    return "cutie pie running"

@app.route('/', methods=['POST'])
def alexa_endpoint():
    data = request.get_json()

    try:
        req_type = data['request']['type']

        # 1. Handle "Open Skill"
        if req_type == "LaunchRequest":
            return build_response("I am ready. Ask me anything.")

        # 2. Handle Questions
        if req_type == "IntentRequest":
            # Extract what the user said
            user_query = data['request']['intent']['slots']['query']['value']

            # --- THE SPEED FIX ---
            # We inject a 'System Prompt' telling it to be short.
            # This format works for Qwen and SmolLM.
            prompt = (
                f"<|im_start|>system\n"
                f"You are a helpful assistant. You must answer in 1 sentence or less. "
                f"Be extremely brief. No explanations.\n<|im_end|>\n"
                f"<|im_start|>user\n{user_query}<|im_end|>\n"
                f"<|im_start|>assistant\n"
            )

            payload = {
                "prompt": prompt,
                "n_predict": MAX_TOKENS,
                "stop": ["<|im_end|>"],  # Stop generating when done
                "temperature": 0.7       # Creativity level
            }

            # Send to local LLM with a strict 6-second timeout
            # If the Pi takes >6s, we abort nicely so Alexa doesn't crash.
            try:
                response = requests.post(LLAMA_SERVER_URL, json=payload, timeout=6.0)
                llm_text = response.json()['content']
            except requests.exceptions.Timeout:
                llm_text = "I'm thinking too slowly. Please ask a simpler question."
            except Exception as e:
                llm_text = "My brain is offline."

            return build_response(llm_text)

    except Exception as e:
        print(f"Error: {e}")
        return build_response("Sorry, I crashed.")

    return build_response("Goodbye")

def build_response(text):
    return jsonify({
        "version": "1.0",
        "response": {
            "outputSpeech": {
                "type": "PlainText",
                "text": text
            },
            # This keeps the blue ring on!
            "shouldEndSession": False,

            # If you stay silent for 8 seconds, she will say this:
            "reprompt": {
                "outputSpeech": {
                    "type": "PlainText",
                    "text": "Are you still there? You can ask me another question."
                }
            }
        }
    })

if __name__ == '__main__':
    app.run(host='0.0.0.0', port=5000)
🔹 What the Python Server Does
Creates a Flask web server to act as a bridge between Alexa and the local LLM.
Configures the LLM endpoint with
LLAMA_SERVER_URLpointing to the localllama-server.Health check endpoint (
GET /) returns a simple message (cutie pie running) to verify the server is alive.Alexa endpoint (
POST /) handles incoming Alexa requests:LaunchRequest → responds with a greeting, e.g., “I am ready. Ask me anything.”
IntentRequest → processes the user query from Alexa:
Wraps the user query in a system + user prompt to make the model answer briefly (1 sentence max).
Sends the prompt to the local LLM via HTTP POST.
Includes a 6-second timeout to prevent slow responses from crashing Alexa.
Handles errors gracefully: timeouts or exceptions return friendly messages.
build_response(text)formats the LLM response in the Alexa-compatible JSON format, including:outputSpeech→ what Alexa will sayshouldEndSession→ keeps the session openreprompt→ keeps Alexa listening if the user stays silent
Runs the server on
0.0.0.0:5000, making it accessible locally for Alexa or any device on the network.
python3 alexa_llm.py
Exposing the Server with ngrok
Alexa cannot reach your Raspberry Pi directly on your home network, so we use ngrok to create a public URL that forwards requests to our Python server.
Step 1: Install ngrok
If you haven’t already, download and install ngrok for your Pi. You can follow the instructions on ngrok.com or use:
wget https://bin.equinox.io/c/4VmDzA7iaHb/ngrok-stable-linux-arm.zip
unzip ngrok-stable-linux-arm.zip
chmod +x ngrok
Step 2: Start the Tunnel
Run ngrok to forward port 5000 (where our Flask server is running) to a public URL:
./ngrok http 5000
You’ll see a screen showing a public URL like https://abcd1234.ngrok.io. This URL is what Alexa will use to send requests to your server.
⚠️ Keep this terminal open while testing. Each time you restart ngrok, the URL may change unless you have a paid ngrok plan.
Once this is done, the next step will be creating the Alexa skill and connecting it to this ngrok URL.
Creating the Alexa Skill
With our Python server exposed via ngrok, the next step is to create an Alexa Skill that talks to it.
Step 1: Create a New Skill
Go to Alexa Developer Console and create a new skill.
Give your skill a name, e.g.,
Local LLM Assistant.Choose your locale (e.g., English US).
Step 2: Configure Skill Type and Hosting
Type of Experience: Choose Custom.
Hosting: Choose Provision your own (since we’re using our Raspberry Pi server).
Template: Choose Start from scratch.
Step 3: Set the Endpoint
In the Endpoint section, select HTTPS.
Paste your ngrok public URL, e.g.,
https://abcd1234.ngrok.io.Make sure to select the POST method.
Step 4: Define the Interaction Model
Paste the following JSON to define your intents and wake word:
{
    "interactionModel": {
        "languageModel": {
            "invocationName": "cutie pie",
            "intents": [
                {
                    "name": "AMAZON.CancelIntent",
                    "samples": []
                },
                {
                    "name": "AMAZON.HelpIntent",
                    "samples": []
                },
                {
                    "name": "AMAZON.StopIntent",
                    "samples": []
                },
                {
                    "name": "AMAZON.NavigateHomeIntent",
                    "samples": []
                },
                {
                    "name": "AskIntent",
                    "slots": [
                        {
                            "name": "query",
                            "type": "AMAZON.SearchQuery"
                        }
                    ],
                    "samples": [
                        "cutie {query}",
                        "ask {query}",
                        "tell me {query}",
                        "about {query}",
                        "how to {query}",
                        "search for {query}",
                        "explain {query}",
                        "what is {query}",
                        "who is {query}",
                        "where is {query}",
                        "why is {query}"
                    ]
                }
            ],
            "types": []
        }
    }
}
Key Points:
"invocationName": "cutie pie"→ This is the wake word for the skill. Alexa will start listening when you say this.The first word in each sample, e.g.,
"cutie {query}", acts as the identifier so Alexa knows to call the skill.{query}→ Slot that captures whatever the user asks, which our Python server will send to the LLM.
Step 4: Save and Build
Click Save Model and then Build to compile the skill.
The skill is now ready to receive requests from your Python server.
Testing Our Alexa Skill
We don’t need a physical Alexa device to test our setup—everything can be done right in the Alexa Developer Console. We can also test on an Echo Dot without publishing the skill.
Step 1: Open the Test Tab
- In the Alexa Developer Console, click the "Test" tab at the top of the screen.
Step 2: Enable Testing
Look for the dropdown menu on the top-left labeled "Skill testing is enabled in: Off".
Change it to "Development".
Step 3: Test the Wake Word in the Console
- In the chat box (or by holding the mic icon), type or say:
open cutie pie
- ✅ Success: Alexa should reply:
I am ready. What do you want to ask?
- Check your Python terminal—you should see a POST / 200 entry, meaning Alexa successfully reached your Raspberry Pi server.
Step 4: Test a Query
- Type or say a question using the wake word / carrier phrase, for example:
ask who is the president of India
- After 2–5 seconds, Alexa should respond with the answer generated by your Qwen model running on the Raspberry Pi.
Step 5: Test on an Echo Dot
You don’t need to publish the skill—just make sure your Echo Dot is logged into the same Amazon developer account.
Say:
Alexa, open cutie pie
- Then ask any question, for example:
Who is Ada Lovelace?
- Your Echo Dot will forward the request to your local LLM and reply with the model’s response.
💡 Tip: Keep both your Python server and ngrok tunnel running while testing on any device.
Conclusion
We’ve successfully connected Alexa to a local LLM on a Raspberry Pi, enabling private, instant AI responses. From setting up the Pi and building the model to creating a Flask server and an Alexa skill with the wake word “cutie pie,” the system now works both in the developer console and on an Echo Dot.
This setup is a great starting point for building your own offline AI assistant at home, with plenty of room to expand and experiment.
Thanks for reading :).